How To Repair a Parrot AR Drone 2.0
How To Repair a Parrot AR Drone 2.0
Why do bad things happen to good people? We can’t explain how devastated we were when crashed our Parrot AR Drone 2.0 into the ground after clipping a tree branch. This led to us to figuring out how to repair a Parrot AR Drone 2.0. It was extremely hard to watch considering we’ve only had it for about 2 weeks. Immediately after the crash we approached the Parrot hoping everything was alright, but unfortunately it wasn’t. One of the legs had snapped off the central cross and the gear and propeller got scuffed up pretty bad. This stopped the gear from rotating correctly. Check out how it all went down in the video above.
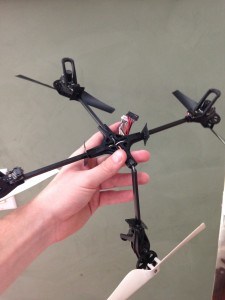
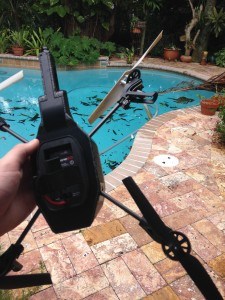
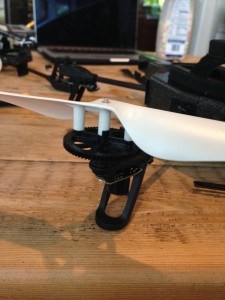
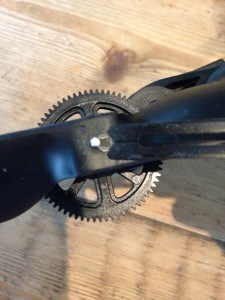
The picture on the right shows the damaged front right leg. Although the other legs are still in place, you still need to purchase a brand new central cross. Do not try gluing or taping it because that will not work! Everything needs to be precise in order for the quadcopter to fly correctly. The picture on the left shows the broken central cross after it has been pulled out of the copter. We are going to show you how to take this piece out and put a new one in without damaging your drone.
After the crash, we hurried home and got online to order a brand new central cross, an AR Parrot 2.0 tool kit, and a new set of gears. The central cross was the most expensive piece which costs about $30. The tool kit was $11 and the gear set cost us another $20. So we spent about $60 dollars total. This is way cheaper than purchasing a new quadcopter. If you follow our step by step instructions below you will have no problem fixing it, and you’ll save yourself a lot of money!
You’ll need:
- Parrot AR Drone 2.0 Tool Kit (Phillips screwdriver, Torx screwdriver, & special circlip tool)
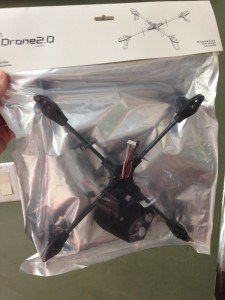
- Parrot AR Drone 2.0 Central Cross
- Parrot AR Drone 2.0 Gears & Shafts
- Parrot AR Drone 2.0 Propellers (optional)
- Pliers (optional)
- Small sharp knife or blade
- Small cup or tin (for screws and other small pieces)
Now lets move on how to repair a Parrot AR Drone 2.0
Step 1: Remove the bottom panel
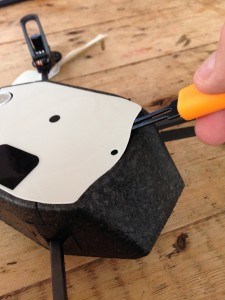
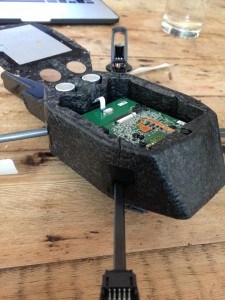
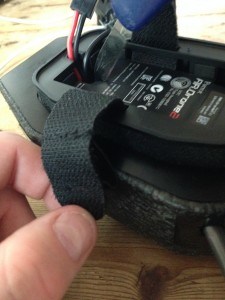
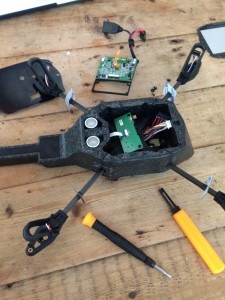
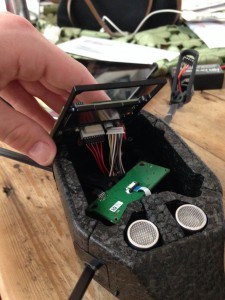
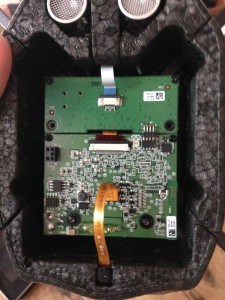
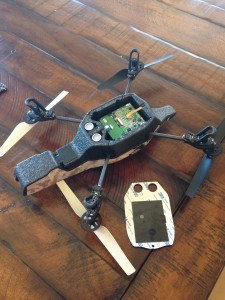
Before you start the repairing your Parrot AR Drone 2.0, disconnect the battery and flip the Parrot on its back. Using your special circlip tool (shown in left picture), pry open the bottom panel. Be careful not to ruin the shape of the styrofoam. Gently wiggle the tool underneath the panel and work your way around the body. Use your hands if you feel more comfortable doing it that way. Once you have it opened you will be able to see the Mainboard and Navboard.
Step 2: Unscrew Mainboard and Navboard
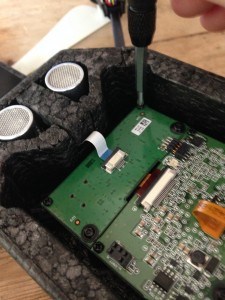
This step is extremely simple. Just unscrew both boards with the screw driver. Two different types of screws are used so you have to flip switch from the phillips screwdriver head to the torx screwdriver head. You can switch heads by unscrewing the black handle, flipping the metal piece, and screwing it back in place. After you’ve removed every screw and placed them in a safe place, flip the motherboard back onto the outside of the Parrot.
Step 3: Detach
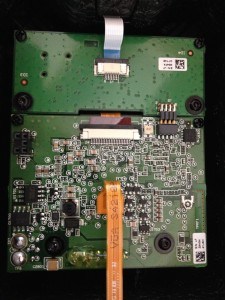
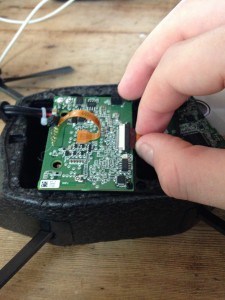
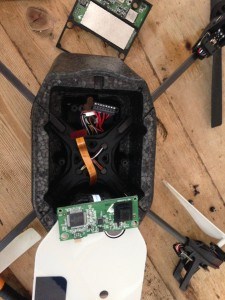
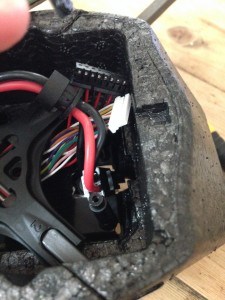
Next, detach the two brown ribbons connected to the motherboard. The one to the left (in the left picture) comes off no problem. You just have to pull it off gently. The ribbon to the right (in the left picture) requires a little more work. You have to loosen the black piece that the ribbon slides into by pulling it away from the body about 1mm or so. Once the black piece is loosened (not detached), you can simply slide the ribbon out. After you’re done with the motherboard flip the copter over and unclip the power cable on top.
Step 4 of how to repair a Parrot AR Drone 2.0: Cut, detach, and slide out
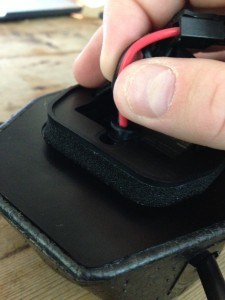
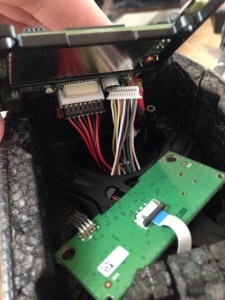
Using a knife or a sharp blade, cut a small opening big enough to slide the power cable and USB port through the bottom. Flip the Parrot over and unplug the two cables from the motherboard. The multicolored connector slides out very easily but we had problems unplugging the red connector. We had to use pliers to loosen it up and then we were able to pull it out. Be careful not to strip the wires or break the plastic head. Once you’ve disconnected both sets of wires, pull the motherboard out.
Step 5 of how to repair a Parrot AR Drone 2.0: Pull Central Cross Out
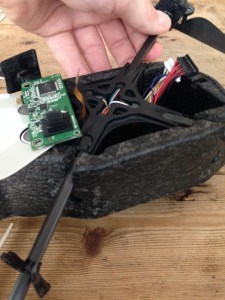
Before removing the central cross you must take off each sticker holding the legs in place on the outside of the body. After you’ve done that pull each slit open one at a time and slowly pull out each leg.
Step 6 of how to repair a Parrot AR Drone 2.0: Insert New Central Cross
Now grab your brand new central cross and gently slide it in to place. You shouldn’t have to force it in. Make sure the legs are facing the correct way (propeller attachments facing up) and there are no cords or connectors trapped under the central cross. It’s IMPORTANT to push the central cross all the way in! If you screw this part up you’ll have to redo steps 2-5 again, or you might just end up smashing it.
Step 7 of how to a repair a Parrot AR Drone 2.0: Slide through and attach
Slide the power cable and USB port up through the slit you cut earlier and attach it into place.
Step 8 of how to repair a Parrot AR Drone 2.0: Attach cables, screw in motherboard and nav board
Plug in the blank and blank into the bottom of the motherboard and the blank into the top. Then push the motherboard and navboard into place, making sure not to tangle up any wires. Screw both boards into place. Do not put the bottom cover on yet! You need to change the motors, propellers, and gears first. This way if something isn’t working right you don’t have to pry off the panel.
Step 9 of how to repair a Parrot AR Drone 2.0: Take off the propeller and gear
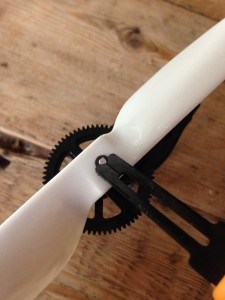
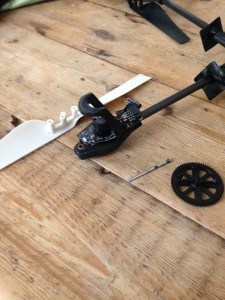
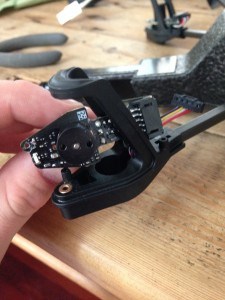
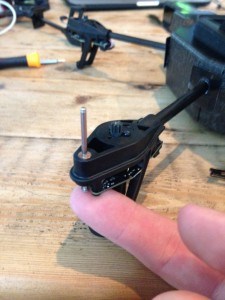
Next grab your broken central cross. Use the tool to push off the small black clip. Then push the metal rod down and slide off the propeller and gear. Do this for all four legs.
Step 10 of how to repair a Parrot AR Drone 2.0: Unscrew the motor
Now you need to unscrew the top three screws and the bottom three screws to retrieve the motor on all four legs. Make sure you put your screws in a safe place such as small cup because the kit does not come with extras!
Step 11 of how to repair a Parrot AR Drone 2.0: Retrieve the motor
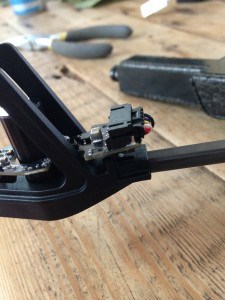
Next, detach the central cross connector from the motor. Flip it back over and push down on the rigid piece sticking out and slide out the motor. Continue to do this on all three four legs.
Step 12 of how to repair a Parrot AR Drone 2.0: Slide motor in to new central cross
Grab your Parrot and flip it over. Slide the motor in by tilting it to the side and slowly rotating it as you put it under the leg. Slide the motor into place and attach the central cross connector. Make sure you get you fully attach the connector!
Step 13 of how to repair a Parrot AR Drone 2.0: Attach propellers
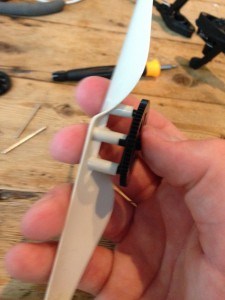
Slide the metal rod up through the leg and attach the propeller and gear together. You will see that the gear and propeller can only be attached when both facing the correct way.
Step 14 of how to repair a Parrot AR Drone 2.0: Clip propellers into place
Lastly, slide the gear and propeller onto the metal rod and attach the clip with your tool. You’re pretty much done, but now you have to test it out to make sure everything is working correctly. Plug your battery in and pull up your Free Flight App. Just get the quadcopter a couple feet off the ground and let it hover. If it starts to drift you may want to check your gears and propellers to make sure everything is even.
Step 14 of how to repair a Parrot AR Drone 2.0: Close off the belly
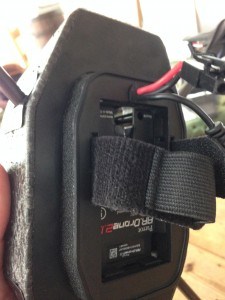
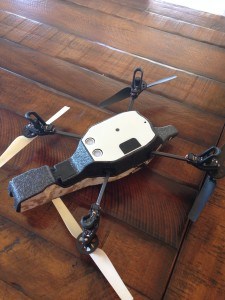
Remove the bottom stick off of the black plastic and press it onto the belly. Make sure it lines up correctly. Now you’re done! Have fun and be careful when flying next time. You put in a lot of work. Hopefully by now you’ve mastered how to repair a Parrot AR Drone 2.0

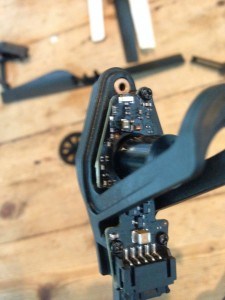
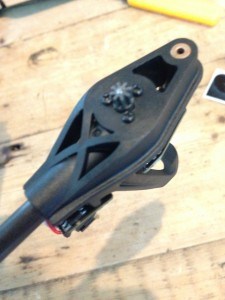
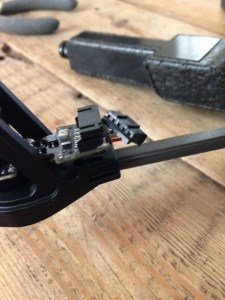
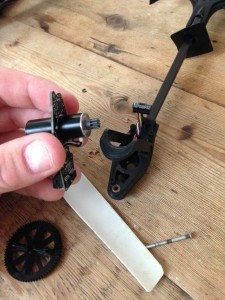


I broke one of the arms. I replace the whole central cross brace. The problem is that one of the arms will not work. I switched out motors and it is not the motor. I reset the battery and still nothing. the LED shows green like all the others. Is there anything else I can do?
Dave
you need to get a new controller for that exact arm. idk where to find one but thats why
One of the legs( bottom left, looking from the rear) is not twitching. Replaced the cross( another story), traded out motors and the same thing happens. Tried resetting the drone but that didn’t fix it. Called Parrot and they said that it was the main board. Not sure. Help.
Ive broken one of the landing legs on my ar 2.0 it still flys but would like a suggestion to replace rather than buy a whole new crossarm.
Thanks
JC
How do I repair my AR Drone 2.0 on lift off it goes backwards to the right
Mine does the same. Did you ever figure out how to get it to work or fixed.
I have the same problem. Did you get it to work yet.
My drone is not connecting wireless.