10 Tips for Better Drone Photography
10 tips for better
drone photography
Not long ago, mediocre drone footage had the power to stun audiences. No longer. Compelling drone photography now demands more effort than simply climbing a couple hundred feet into the air.
While the subject matter in front of your drone’s camera is important, it’s the work behind the scenes that will bring your photography to the next level. As a drone photographer and oftentimes one-person crew, you have many tools to learn and fundamentals to master in order to cover all your bases.
It can be overwhelming to tackle all this on your own, so we’ve called in the experts to help. Whether you are a seasoned veteran or a weekend warrior, we are confident you will discover new tips here to give your drone photography an extra edge.
We’d like to thank our awesome experts for taking time to share their knowledge, we hope you all enjoy these insights as much as we did!
– DroneLifestyle
Quick equipment check before continuing…
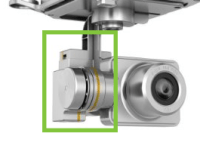
Gimbal: without a camera gimbal, it’s going to be hard to capture high-quality footage. Camera gimbals work to maintain stabilized footage even during turbulent flight.
FPV Capabilities (first-person-view): it’s much easier to take quality footage when you can actually see what you are capturing on your camera. Most mid-level drones provide this FPV functionality via your smart device.
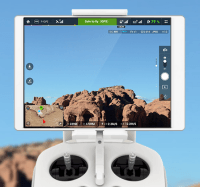
Table of Contents
Tip #1 - Sally French - Finding Your Drone Community

The Drone Girl
A great way to raise your drone photography game is to learn from and work with others. That is why finding a community very important. Since Sally first got involved with drones in college, she has connected with fellow drone pilots all over the world. Sally is so involved with the drone community she often goes by simply “the Drone Girl.”
Pro Tip: “Recently, Facebook groups have gotten really popular. I belong to a few; some location-based and some interest-based. One of my favorite groups is the Amelia Droneharts Facebook group, an international group of female pilots. Every group is different and I don’t think there is one overall “best” one to join. Just try them all out and find the personalities you jive with best. Whatever your medium is—Facebook, Twitter, YouTube, in-person meetups—you’ll find your niche if you put yourself out there.”
You can join the Drone Girl’s loyal Twitter following here. It’s a great way to stay informed on everything drones.
Tip #2 - Kjell Ellefson - Color Correction for GoPros

Professional Photographer
Durable and built for the outdoors, GoPros are now the camera of choice for most drone pilots. As a professional photographer for Freeskier Magazine and an avid outdoorsman, Kjell knows exactly how to extract best possible footage from his GoPro.
Pro Tip: “There are many ways and many programs that can add that slight color correction for extra touch. The first thing I like to do is white balance the shot as GoPro videos can be a little warmer (more yellow) than they should be. Then, I like to bring up the brightness in the mid-tones/shadows. Lastly, you can top it off with some contrast and saturation boost to your liking. I must add that this is not the ‘right way’ to color correct but more of a general tip to improve the look of your shot. You can change many settings and add LUTs or filters to gain your desired effect as needed.”
Before color correction After color correction

To follow Kjell’s photography and his travels around the world, find him here on Instagram. Thousands already do.
Tip #3 - Gabriel Molton - Fixing Lens Distortion Using Adobe Premier

Video Editing Professional
The curvature of the lens on GoPros and cameras like those on the Phantom 2 Vision+ can distort your image. Production pro Gabriel Molton, whose resume includes big-name brands like Heineken and Capital One, has just the fix.
Pro Tip: “GoPros and other drone cameras give a fish eye perspective that can distort your footage. To counteract this, I use the ‘lens distortion effect’ in Adobe Premiere. Only apply this effect after you are done with your editing and color corrections/grading, or else it will significantly slow your edit through added rendering times with every change you make on the clip.
This effect will eliminate the fish eye and amateur feel to your drone footage. This will also allow you to comfortably blend your drone footage with ground footage shot by higher quality DSLRs, without making too much of a departure.”
View Gabriel’s full portfolio here. You’ll find many other techniques throughout his work to draw inspiration from.
Tip #4 - Xavier de le Rue - Battery Preservation for Cold Weather Photography
Professional Snowboarder
Big-mountain snowboarder and Olympic athlete Xavier de le Rue is no stranger to cold weather. Born and raised in the French Pyrenees, he’s learned how to work around the cold when it is working against him. Droning included.
Pro Tip: Inspired by old snowboarding tricks, de le Rue keeps his drone batteries fresh by placing them inside a heavily insulated backpack, wrapped in wool, and surrounded by both hand-warmers and warm bottles of water. This sustained heat prevents the cold from draining the battery. When battling -25 degree Arctic conditions, de le Rue remembers his first experiment with the technique, “It was amazing actually. It flew just like in normal conditions.”
Xavier is developing his own drone, the Hexo+, which you can learn more about here.
Tip #5 - Da Drone Boyz - Working With Different Types of Lighting
Professional Videographers
If you’ve ever seen any of Da Drone Boyz work, you’d agree they know what they are doing. Da Drone Boyz style and attention to detail has earned them a reputation for excellence within the drone photography community.
Pro Tip: “One of the most important things to consider when filming with a drone is lighting. This sounds obvious, but it’s often overlooked. The time of day you fly plays a huge role in the light quality and temperature. Harsh overhead lighting at high noon usually doesn’t give the best results. If you find that you have to film during a bright day with the sun overhead, take into consideration the direction of the sun. Don’t fly into it. Your camera will overcompensate for the exposure and you’ll end up with a washed out image and lots of silhouettes in the foreground, or even the shadow of your propellers in your shot at the top of the frame. This will also help you to consider shadows cast from objects or from the drone itself.”
If you enjoy watching the cutting edge of this medium, follow Da Drone Boyz on Instagram and Twitter.
Tip #6 - Mark Richardson - Eliminating Prop Shadow

Professional Aerial Photographer
Mark Richardson is a professional photographer and videographer who now teaches a drone photography course. Like Da Drone Boyz, he has also experienced the dreaded Prop Shadow and learned to cope.
Pro Tip: “Keep in mind that with the sun high in the sky you may experience Prop Shadow. When the angle is just right, the sun will cast a shadow onto the lens of your camera from the spinning blades of your multirotor. This creates an undesirable flicker effect in the footage that makes the shot unusable. Keep this in mind and avoid flying into the sun when possible and plan your shots accordingly.”
Keep up with Mark’s work on Twitter here.
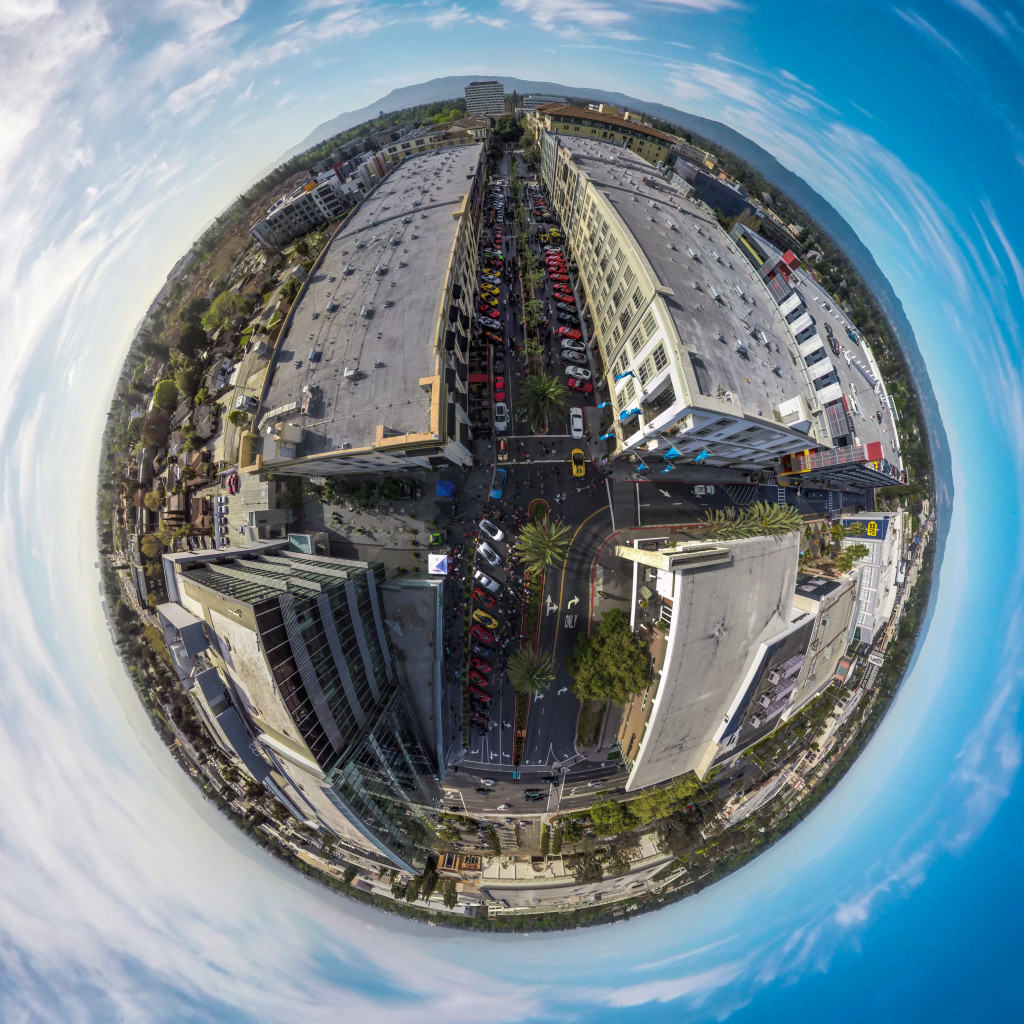
Tip #7 - George Krieger - Creating 180° Spherical Panoramas
Professional Photographer
After surviving a head-on car collision, George Krieger discovered a newfound love of photography, and used it to spur his rehabilitation. Years later, George has mastered many different types of photography. One of George’s favorite drone pieces is the 180° panorama.
Pro Tip: “When using the GoPro Hero 4 Black, still images from the video are the same quality as the stills taken in any still resolution mode. To capture a 180 degree spherical pano, you simply capture 4K video in concentric 360 degree rotations. Each time you go around you tilt the camera to have a 50% overlap in the image and rotate again until you finish the pattern. Be sure to capture a full rotation straight down, and the top rotation should be with the prop tips just barely visible. After loading your video into Premiere and adding lens corrections, just export the frames with the screen shot button and save as Tiff files. Those files are now ready for processing as a stitched pano in either Photoshop or Autopano Giga.”
You can find a more in-depth tutorial of spherical panoramas here on George’s website.
Tip #8 - Isabelle Nyroth - Developing Your Pilot Senses
SUAS Aerial Photography Instructor
Originally from Sweden, Isabelle Nyroth grew up in the SUAS industry. Her passion for aviation and photography eventually led her to Unmanned Experts in Colorado as the senior marketing director and instructor for SUAS aerial photography courses.
Pro tip: “Imagine yourself as the camera up in the air. Forget correcting tilt and angle to perfection. Master the art of flying with smooth movements and spontaneity. Your footage will automatically behold a fulfillment of character that will stand out from the crowd. The key to great footage is not only in the flight of the drone but in the mind of the pilot. FPV systems are a great tool for aerial photographers, but trying a flight or two without a glance at anything but the copter will give you smoother footage to enhance your work.”
You can follow Isabelle’s work on Instagram here.
Tip #9 - Roswell Flight Test Crew - Flying Safely Around Crowds
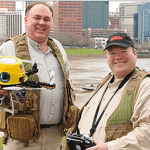
Roswell Flight Test Crew
The human element can come into play in drone photography just as it can in regular photography. However, drone photography requires more caution due to potential crashes. Because of their passion for teaching others about RC copters, the Roswell Flight Test Crew is regularly asked to perform live demonstrations that require flying around large crowds of people (although never above them). With so much at stake, Patrick Sherman and Brian Zvaigzne must take every possible precaution to ensure the safety of their spectators.
Pro Tip: To limit the chances of a hazardous event as much as possible, the Roswell Flight Test Crew has developed a very dependable three-man system:
One person’s job is strictly to pilot the vehicle and make sure the flight path is true. The pilot then relies on a second person, the ‘spotter,’ to scan the sky and the ground for any obstacles that could pose danger. These two are required to work very closely together to ensure a safe flight, but both depend on a third person to conduct crowd control. Often overlooked, this job is very important. Drones naturally inspire curiosity and many questions that cannot be answered by a pilot while flying. These seemingly harmless questions can divert the pilot’s focus from the important task at hand, so having an extra person on hand to serve as a barrier is absolutely essential.
Learn more about the Roswell Flight Test Crew on their website.
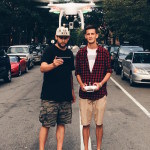
Tip #10 - Drone Lifestyle - Taking a Dronie
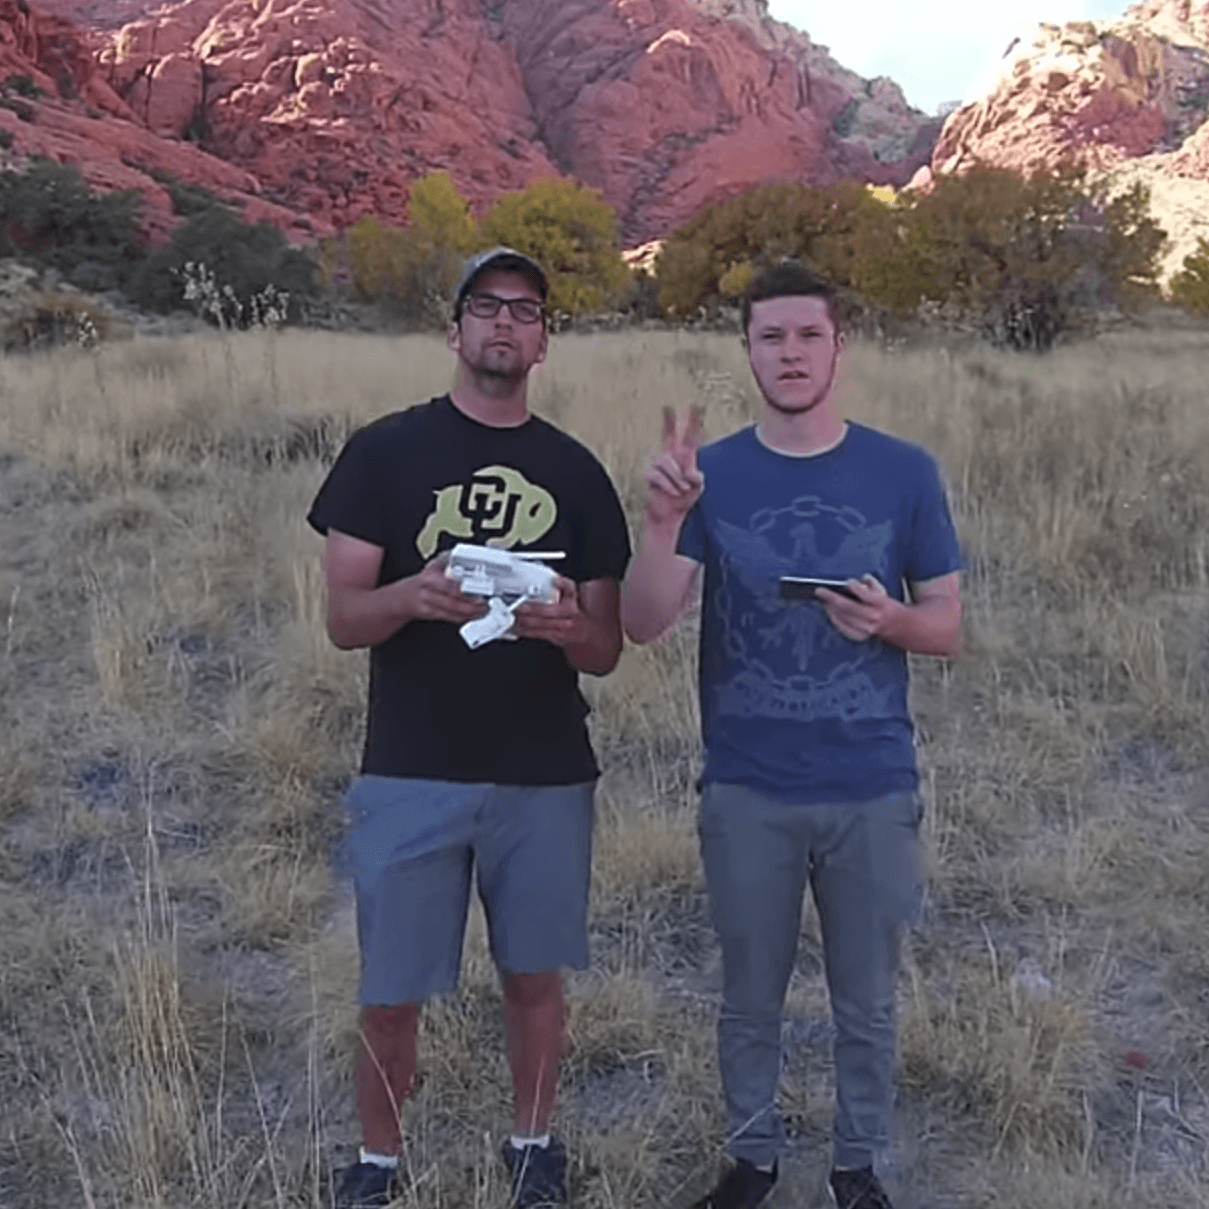
Drone Lifestyle
Drone selfies, also known as ‘dronies’ are beginning to take over the Internet. Rather than taking a boring picture of yourself with a normal camera, use your drone! Dronies work as great mini clips for Facebook, Instagram, and Twitter.
Pro tip: When taking a dronie, realize you will be the focal point of the shot for only a brief amount of time. As your drone zooms out and away, you will quickly fade out of the shot and be replaced by your surroundings. Make it striking. Pick somewhere with exotic scenery or a fun landmark.
To take a well executed dronie, start by lifting the quadcopter 5-10 feet off the ground. Then, face the camera towards you with the desired landscape in the background. If you have gimbal control, now is a good time to adjust the angle. We recommend making the angle nearly level so when you zoom out it captures more of the horizon than the ground.
Now, to get the dronie started, pitch away from you for a few seconds and then elevate slowly while continuing to pitch. This will give your video a dynamic, fluid arc, capturing you and all those beautiful surroundings. Let the likes start rolling in!
Don’t have a drone? Check out our drone buying guide.
Have a tip of your own you’d like to share? We’d love to here it! Simply drop us a line at [email protected]